Sunday, May 13, 2012

Beggar's Chess


We just love stumbling across great board games that we haven't played before.  This weekend we visited the Georgia Renaissance Festival in Fairburn, just a little outside Atlanta.  Well worth the trip--if you're within driving distance, then go!  A big thanks to Mr. Cahoon for introducing us to Beggar's Chess.  It's a great game, quick to learn for kids and adults, but challenging on many levels.  The objective is to get four pieces in a row that share some attribute--whether that attribute is shape, color, size, or surface. For example, the board in the picture below is a winning board because there are four pieces with a hole in the top.  Very easy to lose track of the patterns if you're not careful.  Outstanding game!


Sunday, March 4, 2012

Casting Senet Game Pieces

Over the last several months we've come up with four or five different designs for the game pieces that go with our Senet boards.  We decided it made sense to pick two of our favorite designs and just start making sets of them.  These pics show our workspace as we cast some of the pieces (usually a pretty messy process when you start dealing with the dyes), and a few sets of one of the game piece pairs we decided to go with. This pair is one of the first that we designed and cast.  I think it's one of our favorites because they're so simple, and are very true to the original ancient Egyptian pieces.


Saturday, February 25, 2012

Ancient Mexican Board Game Uncovered

I don't typically re-post or reblog other material, but the Archaeology News Network recently posted about a recently uncovered Mayan game board found etched into a stone floor.  This game, called Patolli, was probably played at the site more than 1,000 years ago.    Fascinating stuff.  Here's the link:
http://archaeologynewsnetwork.blogspot.com/2012/02/mexicans-find-millennium-old-game-board.html?utm_source=feedburner&utm_medium=feed&utm_campaign=Feed%3A+TheArchaeologyNewsNetwork+%28The+Archaeology+News+Network%29

Sunday, February 19, 2012

Senet throwing sticks, tafl frames

There are a lot of parts to even simple games, and sometimes the simple pieces get overlooked in favor of building the main game board.  So I spent a lot of time in the woodshop today, cutting frames for tafl boards and cutting throwing sticks for all the senet boxes we've put together over the last several months.  This is the second batch of throwing sticks, after an initial sanding.  The first batch is drying after a light stain was applied.  A couple of 9x9 tablut boards are to the right.


Monday, January 30, 2012

Some late night game board staining

Decided to stay up late and get some staining done.  Below is a picture of our first 11 x 11 hnefatafl board. In the unstained shot you also see four 9 x 9 tablut boards.  I just finished wiping down the stained hnefatfal board about 10 minutes ago.  We'll let it dry for about 72 hours, then apply a water-based polycrylic that will give the gameboard a nice looking finished look. 


Monday, January 23, 2012

Completed Seega boards

And here are the final stained Seega boards with the glass game tokens.  Played several games with my sons tonight--Seega continues to be a household favorite.


Sunday, January 22, 2012

Seega Game process

Hello, everyone--figured it was time to get back into updating the blog regularly--apologies for the overlong delay.

Any of you that have read the older posts know that I like to write not only about the games we make, but the stages and processes we use to make them.  This entry focuses mainly on a small batch of Seega games we've nearly completed, but the process itself applies (mostly) to how we assemble our tafl boards as well.  There are basically three components to these game boards as we makes them: the base, the game squares, and the frame.  The base we simply cut to size from a sheet of plywood (typically luaun).  The squares themselves, since they are the face of the game board, we cut from a nicer quality oak plywood.  To cut the squares, I cut thin strips of the plywood on my table saw. Then, I stack them 4 deep and cut them using a miter saw.

This picture shows one of my oak plywood strips on the miter saw with the jig i use for Seega and tafl board squares.


I usually just dedicate an hour or two a week to cut a lot of squares, and bag them in bags of 40.


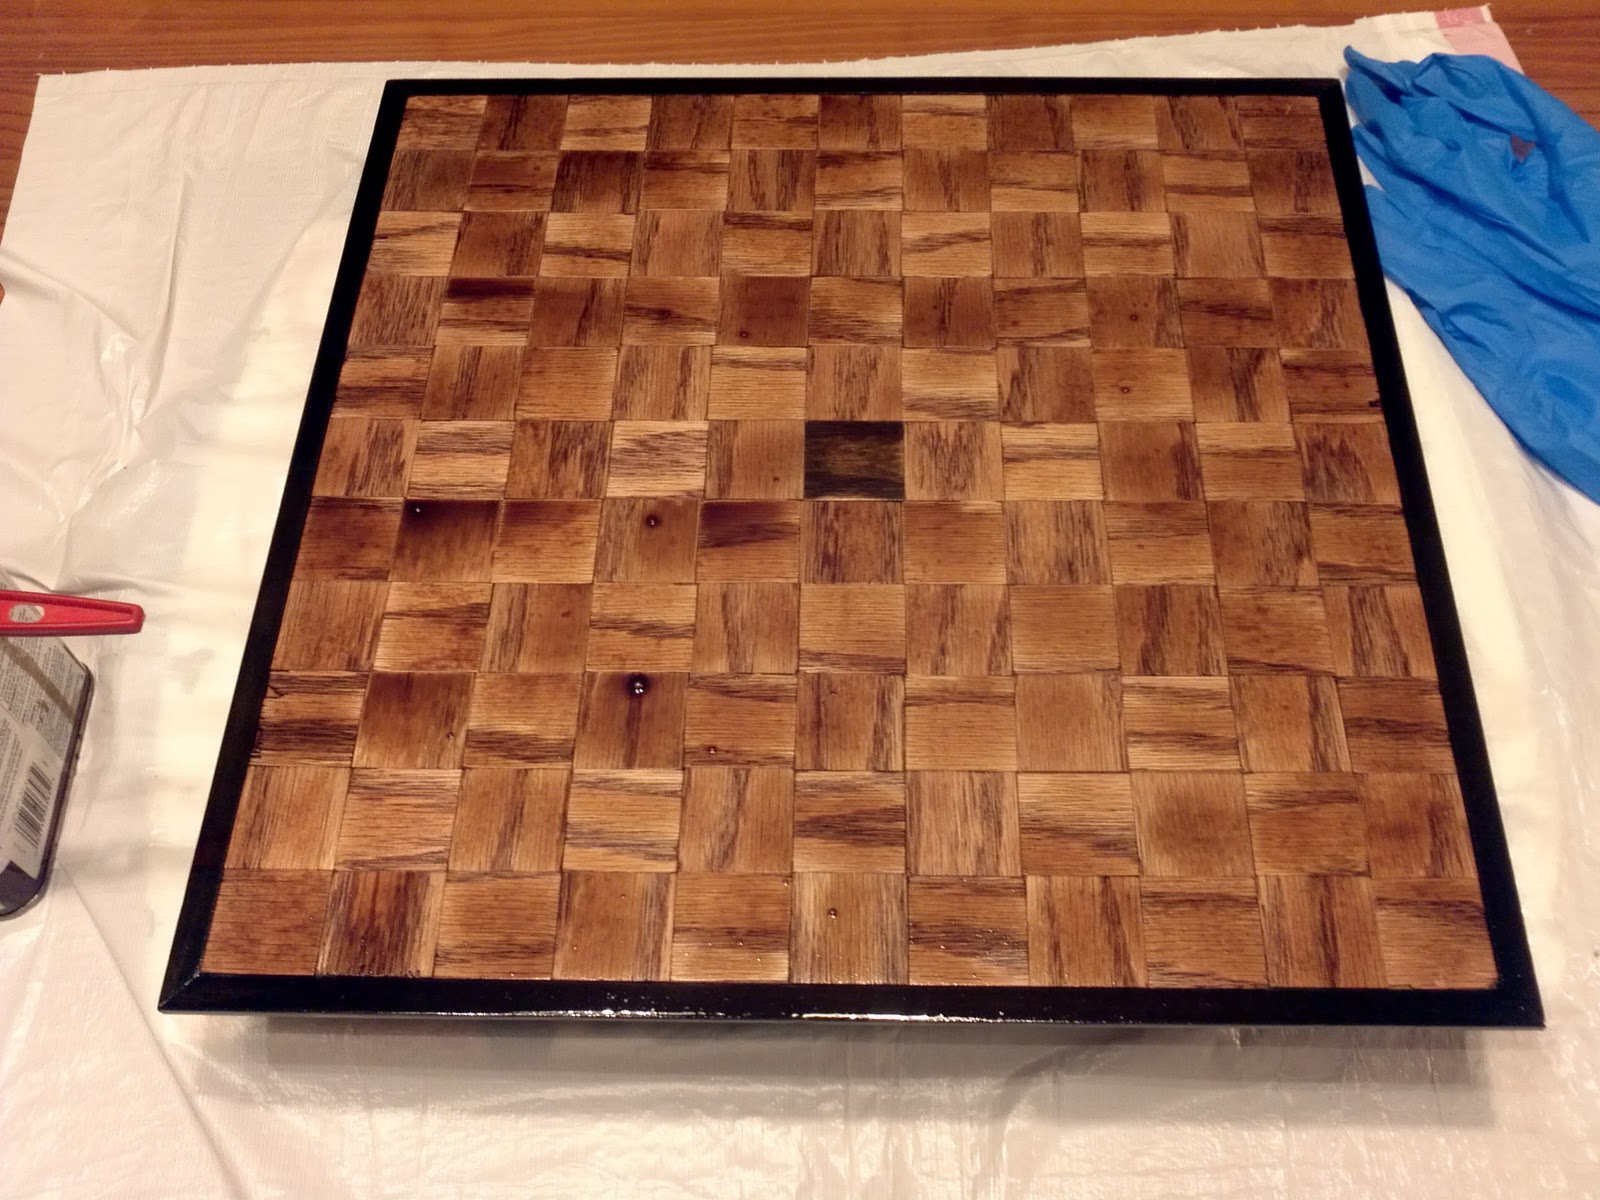
Once I have the bases and the squares cut, we just carefully the glue the sqaures on.  I usually have a little trim-work to do on the sides of the boards, but then I cut the board frames.  For the Seega games, I cut simple unstained L-shape molding to size and then stain them.  Once the stain dries, we glue the frame to the board.

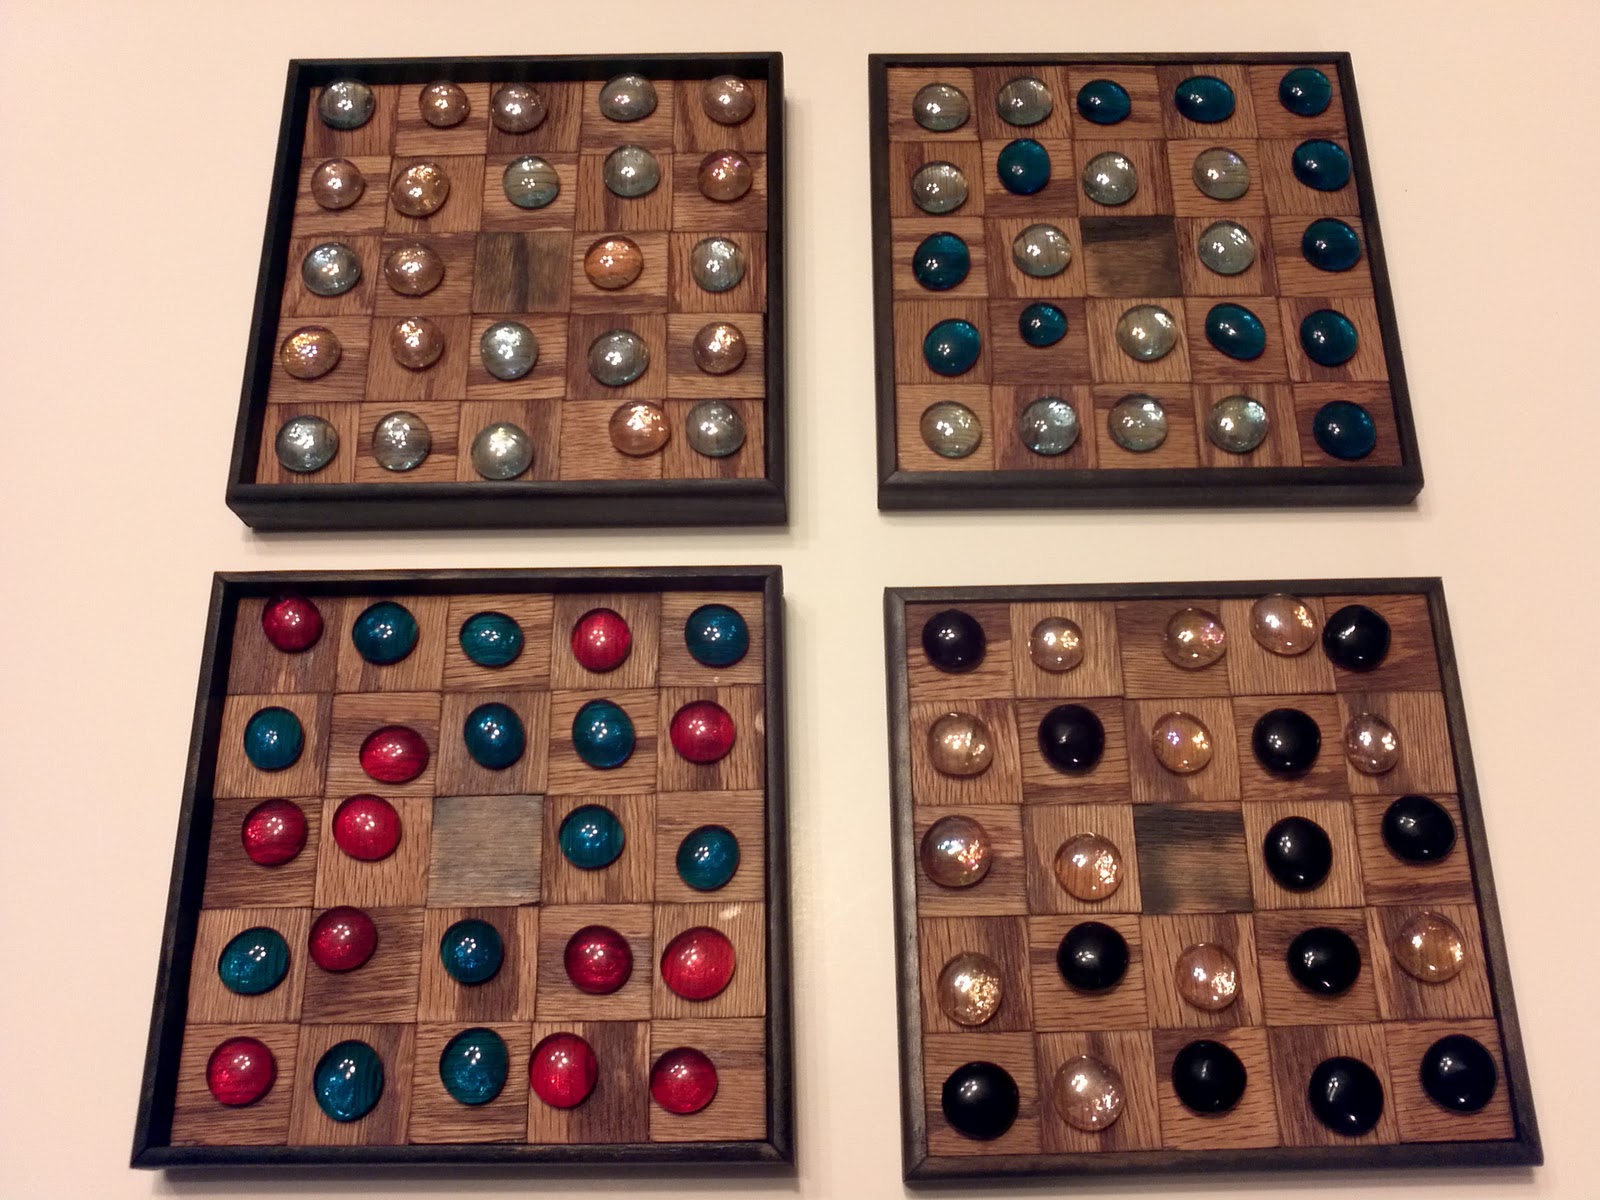
Here are four of the Seega boards, two have been glued  and dried, two are still clamped and drying.

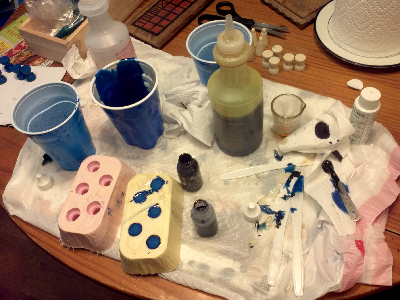
Once the glue dries, we stain the boards and the frames to bring out the texture.  This batch we just stained a few hours ago with a dark walnut stain.   I tried to get the light so you can see the wet stain.  We put the first coat on for half an hour, the second coat for 15 minutes. After that, they get wiped down to dry for at least 8 hours. After that, they're pretty much finished.